What’s the best way to share photographs with friends and family? In the old days, we would develop and print all our photos and arrange them neatly into a photo album. Well, in this day and age, no one wants to exert the energy required to lift pages in a photo album. They’d rather press a play button, sit back and enjoy the show in the comfort of their living room!
Yes, I’m talking about putting all your photos onto a DVD. But it won’t be just any DVD. In this tutorial you’ll learn how to add music and special effects to make a DVD worthy of an Oscar nomination! I’m going to show you how to create a picture slide show using Windows Movie Maker in Windows Vista.
Both Windows XP and Windows Vista come with Windows Movie Maker. You can use it to arrange your photographs and create an entertaining presentation with music and effects. The version of Windows Movie Maker that comes with Windows Vista can burn your presentation directly to a DVD. Unfortunately, the version that comes with Windows XP doesn’t include that feature. If you have Windows XP, you can purchase a program with similar capabilities like Roxio or Nero.
Contents
START WINDOWS MOVIE MAKER
Find Windows Movie Maker in the All Programs list and click on it:
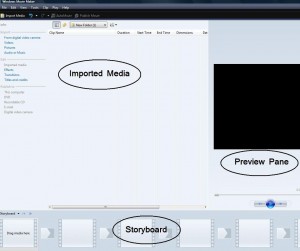
The interface is divided into three main sections:
- IMPORTED MEDIA: All the pictures and videos you want to include in your presentation will go here.
- PREVIEW PANE: This is a video player that allows you to preview the presentation as you create and modify it.
- STORYBOARD: You add pictures here from the “Imported Media” section to build the presentation.
IMPORT YOUR PHOTOS
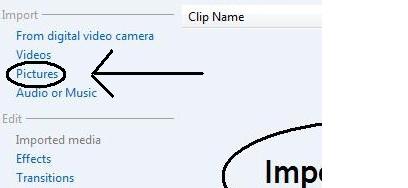
The next step is to find photos on your computer and add them to the “Imported Media” section. Click on “Pictures” under “Import” on the left side of the window:
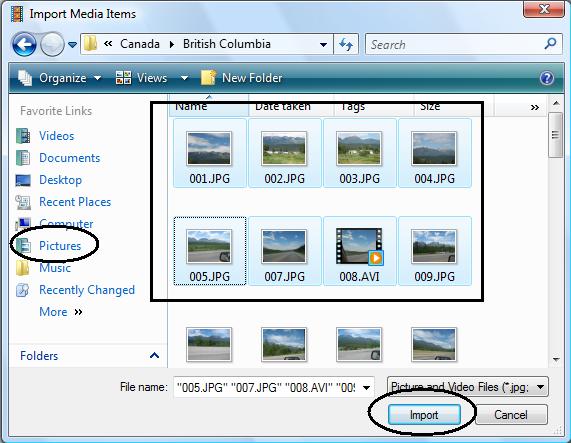
A window will open which allows you to browse for photos on your computer. Click on the “Pictures” folder or browse to wherever you have stored them on your computer. Select the photos you want to include in the presentation and click the “Import” button. To select more than one picture at a time, hold down the “Ctrl” key as you click them:
You’ll notice that after you click “Import”, the pictures are displayed in the “Imported Media” section. However, they aren’t part of the presentation until you drag them onto the Storyboard.
MOVE PHOTOS TO THE STORYBOARD
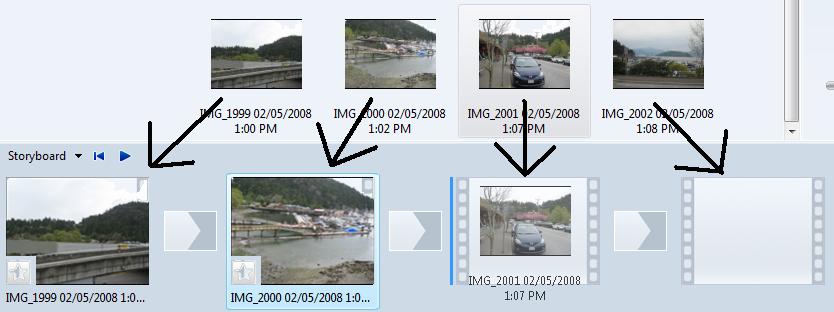
Click and drag the photos onto the Storyboard in the order you want them to be presented in your slide show:
***Note: If the pictures show up as a list instead of thumbnails, right-click in an empty space in the “imported media” section and select “Thumbnails”. Also, to see a larger preview of the image, click on it once to see it in the preview pane.
Click the play button in the preview pane to see your presentation so far. By default, each picture will be displayed for five seconds. To change this setting click on “Tools” at the top and select “Options”. Change the “Picture duration” to the number of seconds you want each picture to be displayed:
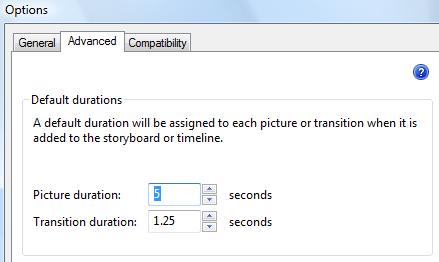
You can change the default picture duration time from the options window
ADD MUSIC
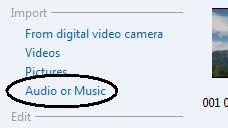
To add music to the presentation, click on “Audio or Music” under “Import”:
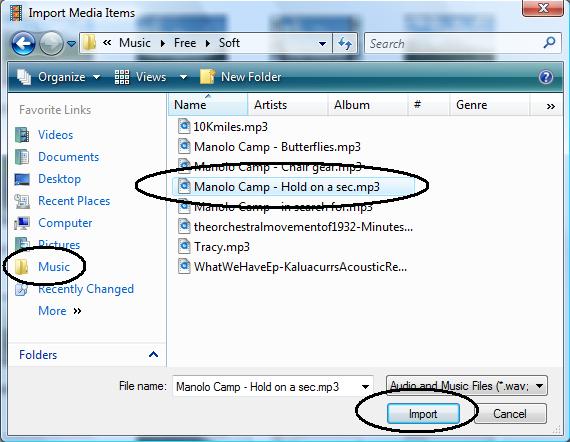
Browse to your music folder, select the desired song, and click “Import”:
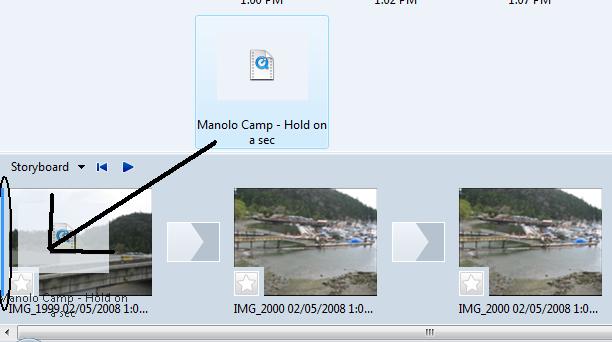
You have now imported a song to Windows Movie Maker. But, just like the pictures, it is not part of the presentation until you drag it into the Storyboard. Drag the music file onto the Storyboard and make sure the vertical blue bar is in front of the first picture. The vertical blue bar indicates where the music will start:
If you preview your presentation, you should now hear music as the pictures change. Fantastic!
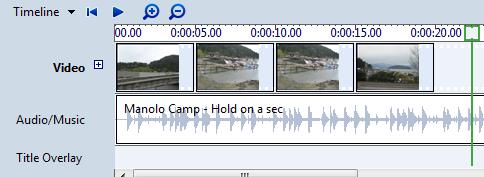
Notice that after you drag the music file to the storyboard, it looks a little different. You are now looking at your presentation in the “Timeline” view. The Timeline view is good for adjusting the amount of time each individual slide takes up.
To switch back to Storyboard view, click on the black down arrow beside “Timeline” and select “Storyboard”.
TRANSITIONS
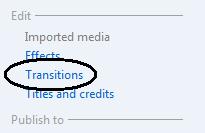
By default, there’s no transition between the photos you add to the Storyboard. This tends to look bad as the presentation “chops” from one photo to the next. You may want to add transitions such as fades and wipes to make it easier on the eyes. Click on “Transitions” under “Edit” on the left side of the window:
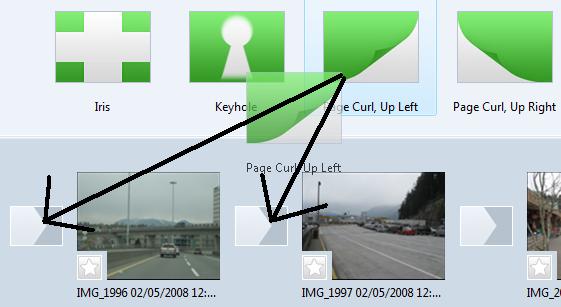
You’ll see a group of different transitions to choose from. Click and drag the transition to the small box between the two photos you want to add the transition to. A couple of my favorites are “Fade” and “Page Curl”. Play around with them yourself to find out which ones work best for your presentation.
You can see the transition in action by highlighting the first picture and pressing play in the preview pane.
EFFECTS
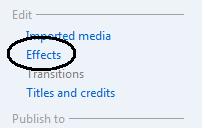
There may be times where you want to zoom in, zoom out, or add some other effect to a picture. To see a list of available effects, click on “Effects” under “Edit”:
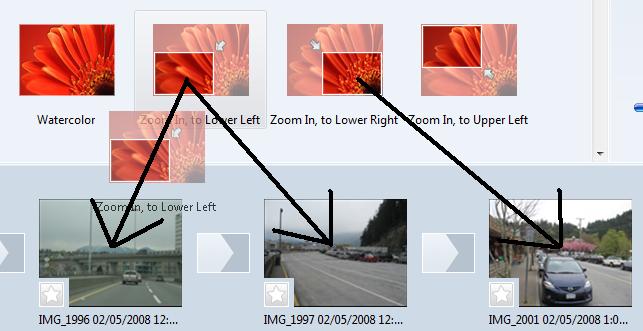
To apply an effect, click and drag it directly onto a picture. After you add an effect, the star at the bottom left of the picture will become colored.
After you’ve finished adding effects, click play in the preview pane to see them in action.
ADD TITLES
You may want to add additional information to a picture. You can do this by adding a Title.
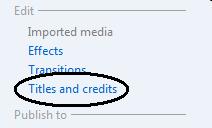
In the Storyboard, select the picture you want to add a title to. Then click on “Titles and credits” under “Edit”:
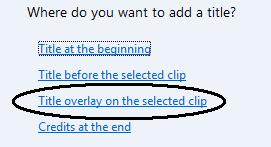
Select “Title overlay on the selected clip” in the next window:
*** Note: You can add a full-screen title to the beginning of your slide show by clicking “Title at the beginning”.
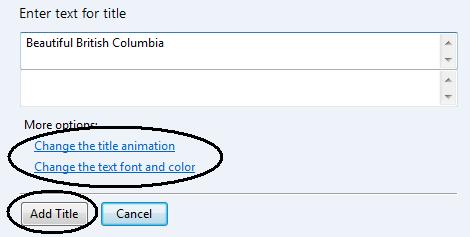
You’ll see a preview of the title in the Preview Pane. You can change the title animation, font, and color by clicking on the links below the text box. Once you’re satisfied with the title in the preview pane, click “Add Title”:
Now when you preview your presentation, the title should appear on the selected picture. You can return to the Timeline view to adjust when the title appears and the length of time it remains on the slide.
BURN A DVD
The last step is to burn your presentation to a DVD so that you can show it off to your family and friends. Click the “Publish Movie” button:
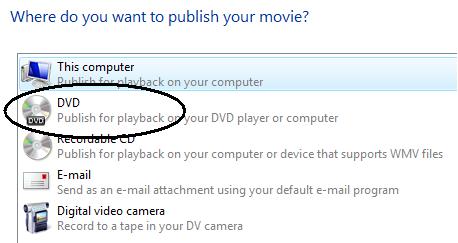
You can publish your movie in several ways. In this case, we want to copy it to a DVD so select “DVD” and click the “Next” button:
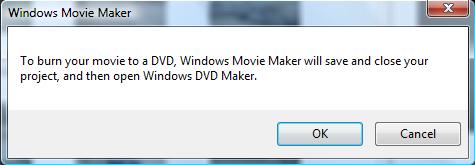
Windows will now inform you that it must close Windows Movie Maker and open Windows DVD Maker. Click “OK”. You’ll be asked to save the presentation to your computer if you haven’t done so already.
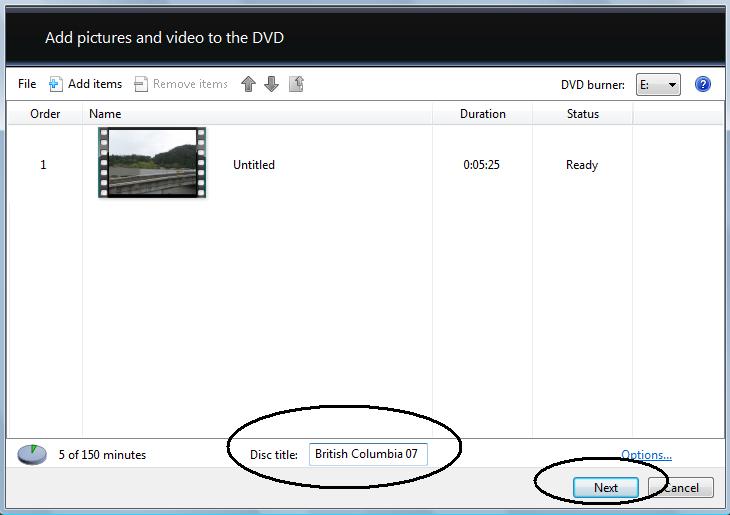
Windows DVD Maker will open. Give your DVD a title, and click “Next”:
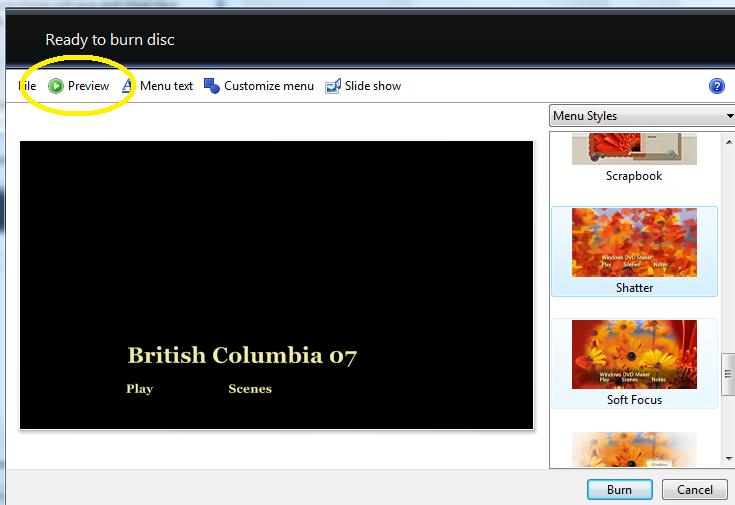
Now you can choose from a variety of menu styles for your DVD.
A DVD menu is what’s first shown when you insert your disc into the DVD player. If you’ve ever watched a DVD before you should be familiar with the initial menu where you can choose “Play”, “Scenes”, “Special Feature”, etc. That is what you are creating in this section.
Select a menu style that suits your presentation and click the “Preview” button to see what it will look like:
Once you’re satisfied with the menu, it’s time to burn the DVD! Click the “Burn” button and insert a blank DVD-R into your recorder when prompted. Windows DVD Maker will encode the movie and then write it to the DVD. Once it’s finished, the disc will be ejected and a success message will appear on the screen. You can now insert it into your DVD player to watch it.
CONCLUSION
Well I hope you’ve found this tutorial useful! There are several other features in Windows Movie Maker that I didn’t cover here, so have fun researching them and fooling around with the program. You can get quite creative with it.

