The Raspberry Pi is an inexpensive computer about the size of a credit card that was designed to promote the teaching of computer science. In the spirit of openness, this post focuses on open source games whose code can be studied, analyzed, customized and perhaps even improved upon, by anyone.
I’ll start off by explaining where you can purchase a Raspberry Pi, then give you a brief explanation of how to set it up, followed by a detailed guide on how to install games and get a gamepad working (the Xbox 360 controller, in particular).
Contents
Where to Buy a Raspberry Pi
You can buy a Raspberry Pi 2 on Amazon either as a standalone item or spend a little bit of extra money and get an entire kit (recommended) which includes a protective case, USB WIFI adapter, HDMI cable, 8GB micro SD card (with a preloaded copy of Raspbian), and power adapter.
Since this Raspberry Pi will be used for gaming, you will probably want a gaming controller to go with it. In this post, I explain how to use a USB Xbox 360 controller (which can also be purchased on Amazon), but there are other guides out there that show you how to configure other types of game controllers.
How to Assemble a Raspberry Pi
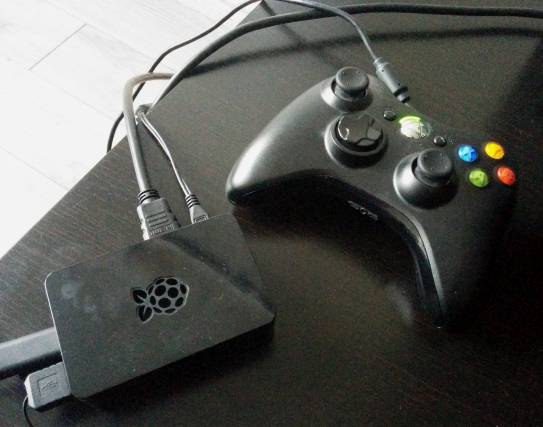
The first thing you should do is place the Raspberry Pi hardware into its protective casing. You can use the below video as a visual guide.
After that you can connect the WIFI module, HDMI cable and power adapter (don’t plug it into an electrical source just yet), as well as a keyboard, mouse, and Xbox controller. After the Xbox controller is configured you won’t need a mouse or keyboard.
Insert the micro SIM included and then plug the power adapter into the wall. The Pi will start automatically (no button press required). Follow the instructions to install the Raspbian operating system.
Installing Games
OpenArena
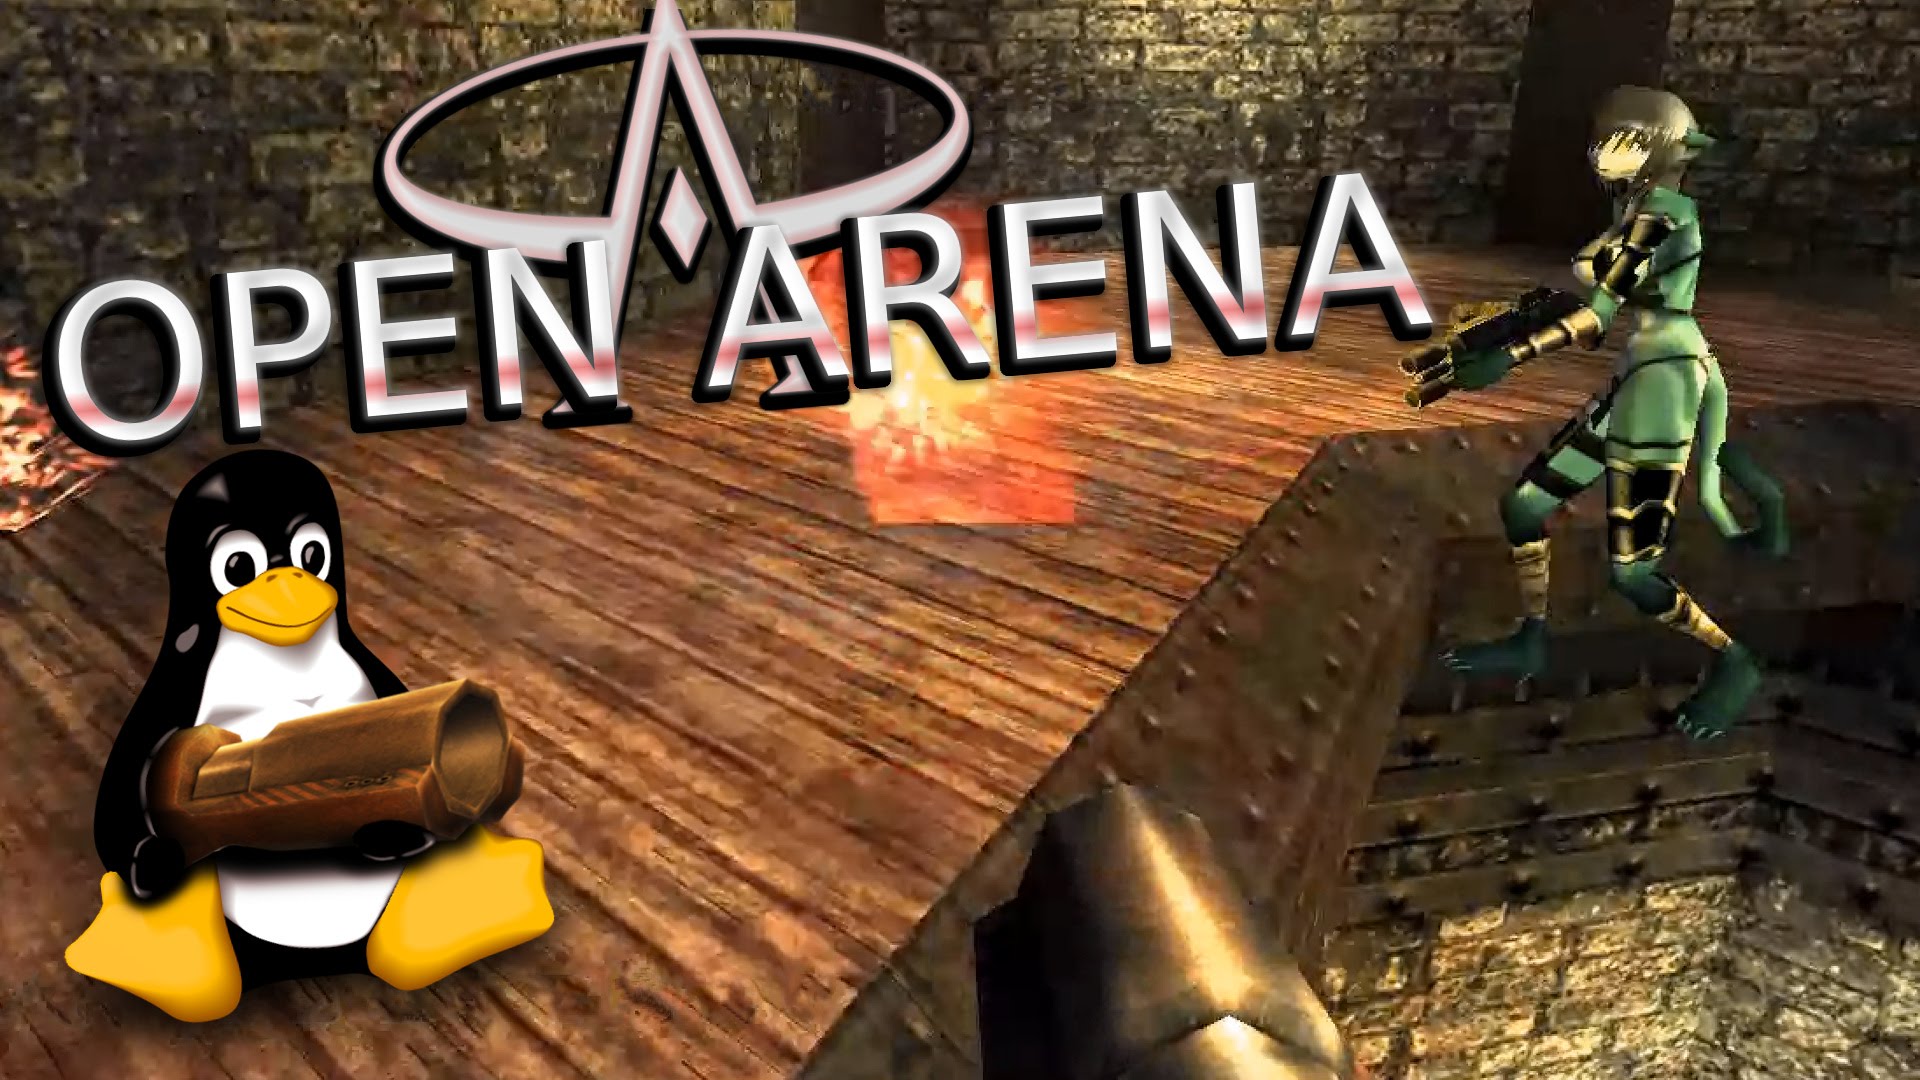
OpenArena is a game based on the Quake 3 engine that is completely open source. A special version built for the Raspberry Pi used to be available for download from the Pi Store, but it seems the company is having issues and the download link is not working as of this writing.
Quake 3

The next best thing to Open Arena is Quake. The engine behind Quake 3 Arena is open source and free, but the game itself is not. However, there are demo packs for Quake 3 that can be downloaded from various places on the web and will work with the Raspberry Pi (see link at bottom of this section). This section is a guide on building the Quake 3 engine from its source code.
Before getting started, if you do not know how to launch a terminal window, check the bottom of this post.
Installation
1. Issue the following command in a terminal window to get the software required to compile the game engine:
sudo apt-get install git gcc build-essential libsdl1.2-dev
2. If git is not installed, you will need to get that as well:
sudo apt-get install git
3. Make sure that you are in your home directory:
cd ~
4. Use git to copy (clone) the Quake 3 game engine source code:
git clone https://github.com/raspberrypi/quake3.git
5. Change into the Quake directory:
cd quake3
6. Some settings in the build script need to be modified before we execute it. You can open the script in the graphical text editor that comes with Raspbian, Leafpad.
leafpad build.sh
7. Find the line that starts with ARM_LIBS= and replace it with the following:
Note: You can press Ctrl+F to bring up a search box in Leafpad
ARM_LIBS=/opt/vc/lib
8. Find the line that starts with INCLUDES= and replace it with the following:
INCLUDES="-I/opt/vc/include -I/opt/vc/include/interface/vcos/pthreads"
9. Put a hash in front of CROSS_COMPILE= to comment it out so that it looks like this:
#CROSS_COMPILE=bcm2708-
10. Save the file and close it. Execute the build script with this command:
./build.sh
Take a break while the code compiles.
If you do not have the Quake demo pak files, which are required to run the game, they can be found on the web (check link below). They need to go into the following directory:
./quake3/build/release-linux-arm/baseq3
Run the game by changing into the game’s directory and executing the main program
cd ./quake3/build/release-linux-arm/
./ioquake3.arm
Credit goes to raspberrypigi1 for his post on the Raspberry Pi forums which the above instructions were adapted from.
Adjusting brightness
I found that, by default, the game is fairly dark. The brightness control in the game’s graphics settings is grayed out and appears unchangeable. You can manually change it though, by going to the main menu and pressing the tilde (~) character to open the game console. Type r_gamma 1.8 followed by vid_restart. Start a new match and the maps should appear much brighter. More details.
If you plan to play Quake with a controller rather than the keyboard and mouse, the next step is to setup a gamepad.
Create a Shortcut
You can make the game easier to start by creating a shortcut to it on the desktop. The shortcut is actually a script that launches the game.
Let’s create the script. Open the Leafpad text editor and type in the following:
#!/bin/sh

/home/pi/quake3/build/release-linux-arm/ioquake.arm
Save it to your ~/Desktop directory with a descriptive name, like quake3 for example.
The script will not launch until you make it executable. Open a terminal, change into your desktop directory where the file was saved and issue the following chmod command:
cd ~/Desktop
chmod +x quake3
Now when you double-click the script a terminal window will open and Quake will start.
Python Games
The Raspbian OS comes with a few simple Python games that are installed by default. They may not be as spectacular as 3D games like OpenArena or Quake 3, but they can be a lot of fun! You can access them from the Raspbian menu:
Menu -> Games -> Python Games
Some of the more entertaining games include:
- Tetromino – Tetris-like game
- Star Pusher – Move stars to their destinations without getting stuck
- Squirrel – Eat the smaller squirrels while avoiding the bigger ones
SuperTux
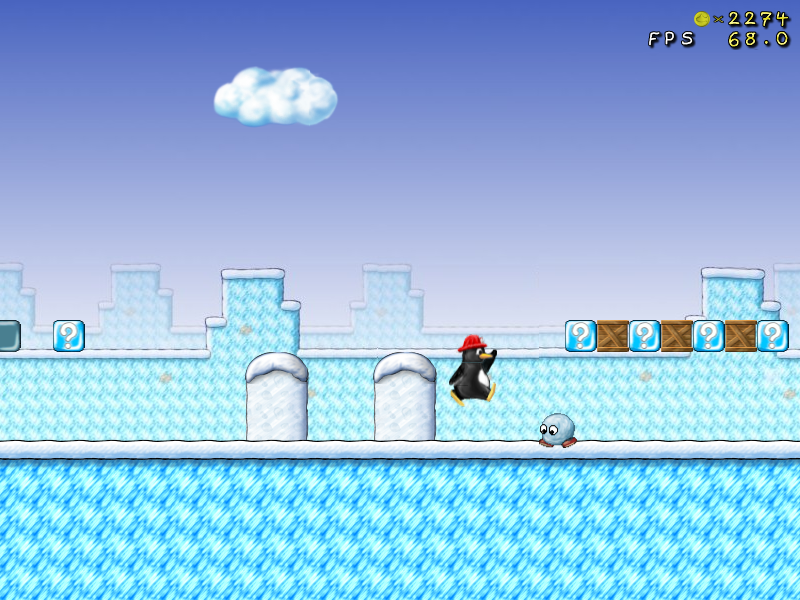
SuperTux is like an open-source version of Super Mario Brothers, only instead of Mario you’ve got the symbol of free and open source software, the penguin.
You can install the game with the apt-get command:
sudo apt-get install supertux
After installation, you should be able to launch it from the Raspberry games menu, same as where the Python games are found.
The game can be set to full screen mode, but it will only occupy a moderately sized square in the middle of the screen, surrounded by black.
PrBoom+
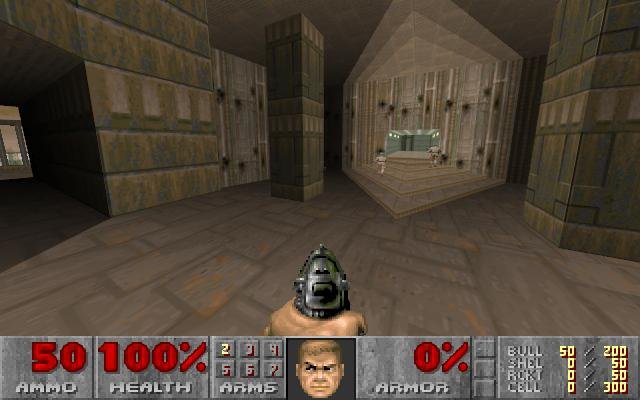
PrBoom+ is an open source version of the first person shooter Doom, a revolutionary game that came out in the early nineties. To install it:
sudo apt-get install prboom
The game doesn’t run quite as smoothly as Quake 3, perhaps because it hasn’t been ported perfectly to the Raspberry Pi, but it is playable.
More Games
Check out this post on the Raspberry Pi forums. It lists several other open source games that can be installed on the Pi.
Gamepad Setup
The Xbox controller will not work after your first boot. In order to get Raspbian to recognize and work with it, you need to install the xboxdrv driver.
Open a terminal window and type:
sudo apt-get install xboxdrv
After installation completes, you can start xboxdrv by copying and pasting the below command (which I’ll explain in more detail below) into the terminal window:
sudo xboxdrv \
    --dpad-as-button \
    --ui-axismap x2=REL_X:10,y2=REL_Y:10,x1=KEY_A:KEY_D,y1=KEY_W:KEY_S \
    --ui-buttonmap a=KEY_ENTER,b=KEY_C,x=KEY_Z,y=KEY_4 \
    --ui-buttonmap rt=BTN_LEFT,lt=BTN_RIGHT,tl=KEY_LEFTCTRL,tr=KEY_SPACE,start=KEY_TAB,back=KEY_ESC \
    --ui-buttonmap rb=KEY_BACKSPACE,lb=KEY_TAB \
    --ui-buttonmap dl=KEY_LEFT,dr=KEY_RIGHT,du=KEY_UP,dd=KEY_DOWN \
    -s --deadzone 6000
If all goes well, you should now be able to move the mouse with the right analog stick and use the right trigger to click. The directional pad is mapped to the arrows on your keyboard, so you can use it to navigate through menus.
Before you launch a game, keep in mind that it will need its own key mappings. In Quake you can find the mappings under SETUP -> CONTROLS. From there you can map each game action (crouch, jump, fire, switch weapon, etc) to a button on the controller.
Let’s break down the above command line by line:
sudo xboxdrv – Here we launch xboxdrv as the superuser by prefixing it with sudo. This allows it to communicate with low level hardware.
–dpad-as-button – The dpad sends button instead of axis events. This option is required to map the dpad to the keyboard’s arrow keys.
–ui-axismap x2=REL_X:10,y2=REL_Y:10,x1=KEY_A:KEY_D,y1=KEY_W:KEY_S – This configures the right analog stick (x2 & y2) to control the mouse and the left analog stick (x1 & y1) to map to the keys A, S, D, W, which are often used to control movement in a game.
–ui-buttonmap a=KEY_ENTER,b=KEY_C,x=KEY_Z,y=KEY_4 – This and the following –ui-bottonmap lines map controller buttons to keyboard keys and mouse buttons.
-s –deadzone 6000 – The -s option instructs xboxdrv to operate in silent mode, stopping it from writing controller input to the terminal window
For a full list of Xbox controller button names, search for “Table 2” on the author’s page.
For a full list of keyboard key names, look at the file /usr/include/linux/input.h
You can customize your xboxdrv configuration to your heart’s content and I recommend that you read more about it on the author’s website.
Automatic Start on Boot
It’s rather tedious to launch a terminal window and issue that long command after every restart, so let’s create a script to do it for us when the Pi starts.
Copy and paste this into the Leafpad editor and save it to your desktop with a descriptive name like xboxdrv_cnf
#!/bin/sh

# Remove kernel xpad driver to prevent it from conflicting with xboxdrv
rmmod xpad

# Launch xboxdrv
xboxdrv \
    --dpad-as-button \
    --ui-axismap x2=REL_X:10,y2=REL_Y:10,x1=KEY_LEFT:KEY_RIGHT,y1=KEY_UP:KEY_DOWN \
    --ui-buttonmap a=KEY_ENTER,b=KEY_2,x=KEY_3,y=KEY_4,rt=KEY_5,lt=BTN_LEFT,tl=KEY_7,tr=KEY_8,back=KEY_TAB,back=KEY_ESC \
    --ui-buttonmap dl=KEY_LEFT,dr=KEY_RIGHT,du=KEY_UP,dd=KEY_DOWN --ui-buttonmap rb=KEY_BACKSPACE,lb=KEY_TAB \
    -s --deadzone 6000

# OEF
Make the script executable with the chmod command
cd ~/Desktop
chmod +x xboxdrv_cnf
Open a terminal window and change into the /etc directory. This is where most application configuration files are stored. From there we are going to edit the rc.local file.
cd /etc
sudo leafpad rc.local
Any commands you add to the rc.local file will be executed whenever the computer starts.
Add the following comment and command to the bottom of the file:
# Start Xbox Controller Driver
/home/pi/Desktop/xboxdrv_cnf
Save the file and reboot your Pi. The Xbox Controller should work on startup without running any additional commands.
How to Launch a Terminal Window
Here are two ways to do it:
- Click on the icon with a black monitor (It’s beside the Menu button)
- OR – Click on Menu -> Accessories -> Terminal
Pingback: Raspberry Pi Access Point and Captive Portal |